Most of the time when CrowdTamers works with clients, they already have a product that they launched already. We talk a lot about Grow to Market and “launch before you’re ready” here, but it’s worth noting that approach isn’t the only way to grow your business. I like launching first, because it lets you validate market demand before you create a product, but the ideas behind Grow to Market can apply after you’ve launched—even years after!—with a few modifications.
If you’re okay experimenting in public or not. If you’re comfortable building in public, then the Grow To Market funnel will work for you more or less unmodified.
For a lot of established brands, public experiments aren’t going to fly. In that case, you’ll want to build and position a competitor for yourself. 🙃 This can be a really fun project for a marketing team to undertake.
The goal here is to create a competitor for your existing company or product, radically change who you offer it to or how you talk about it, and see how well it performs to acquire new business compared to your existing product.
We’re gonna build your worst enemy, and were gonna do it in 3 days. 🙂
What you’ll need
- Domain search from a tool like Domai.nr
- A logo generator like Looka or Hatchful
- Free images from sites like Vecteezy and Unsplash.
- Copy generation from tools like Copy.ai or Conversion.ai
- A website builder like Webflow or Gutenberg for WordPress.
Day 1: Positioning Your Worst Enemy
Create a list of your 3 main features and the person that they appeal to.
You want to keep this pretty short, because your AI copywriting tools do better with shorter copy. Why are we even using AI copywriting? Because you want someone to write copy that is completely different than you, and it’s hard to beat an AI for speed of delivery and cost effectiveness.
Pick a name
Think of some names that are plausible for your competitor. You can always use tools like Namify.tech to generate a name, or just put together two or three nonsense syllables to make a new name. Once you’ve got a name, make sure you can buy the domain for it! Pick up a .com or similar cheap TLD for now. There’s no point to buying a $150 domain like a .ai one for this test.
Mix up your positioning completely.
Think of it this way: eggs, flour, blueberries, butter and baking soda can create a blueberry pancake, a blueberry muffin, or a blueberry scone. You can offer each of these up to people and say that they’re different products, but you’re not really gonna attract a very different crowd with scone than you will with a muffin.
Or you could make tortillas with the flour, butter, and baking soda, scramble up the eggs, and make breakfast tacos with blueberries for dessert.
Think of how you position your features in a radically different way, just like muffins vs. tortillas.
Now re-write those 3 main features and pass them through your AI copywriter. Use a Problem Agitate Solution (PAS) or Attract Interest Desire Action (AIDA) framework to generate your landing page copy.
Build your website
Pick your landing page builder of choice. Find a free template that you like well enough to build your page with. It doesn’t have to be perfect—speed of execution matters more than perfection. Besides, it’s not like any mistakes in the design or formatting will reflect poorly on your brand. You’re building a new one!
Using the template you got + your AI copy, you should be able to put together the skeleton of your website by the end of the first day.
Call it day well done, go home, eat a 🌮 and let’s get ready for day 2.
Day 2: Creating Your Worst Enemy
Polish your website:

Now that you’ve got the skeleton of your website ready, let’s make it shine. Go to a logo generator of your choice and create a logo that’s good enough to not feel actively shameful. Here’s one I created on Looka for a made up food company I’m creating this month for the book I’m writing.

It’s good enough, and certainly better than some of the other AI generated ones. 🙂

With the logo out of the way, it’s time to put some images into your template. Head over to Unsplash and Vecteezy and pretty up your template with graphics that are appropriate to your new product.
Create a call to action
Your single page website should have a simple pricing plan displayed somewhere unless you’re an enterprise software, so be sure to put in pricing that’s about the same as your actual brand’s. Then you need to capture the traffic you’ll be sending here.
Something as simple as a signup button that captures email accounts can do the job. You just want to measure interest in this “product” and compare it to your current one.
You’re not building a full product signup flow. You’re creating the minimum viable interest indicator. Once you get the email address, tell the lead that they’re on your backlog for beta access or something similar.
Claim your social accounts
Now that you’ve got your website created, a logo picked, and copy written that describes your entire imaginary competitor’s value proposition, go ahead and claim the social accounts for the new brand. You don’t have to publish on the accounts, you just want to have them because your ad accounts will be attached to them. At a minimum, you’ll want to create a Facebook and a Twitter profile. Depending on if you’re heavily B2B, you may also need to create a LinkedIn profile as well.
Set up your ad accounts & reporting
You’ll need to connect credit cards to your new social media profile ad accounts to fund the relatively small test campaigns we’re going to run here. You’ll also want to make sure that you’ve correctly connected your Google Analytics tracking code as well as your Twitter, Facebook, and LinkedIn pixels.
Create compelling ads
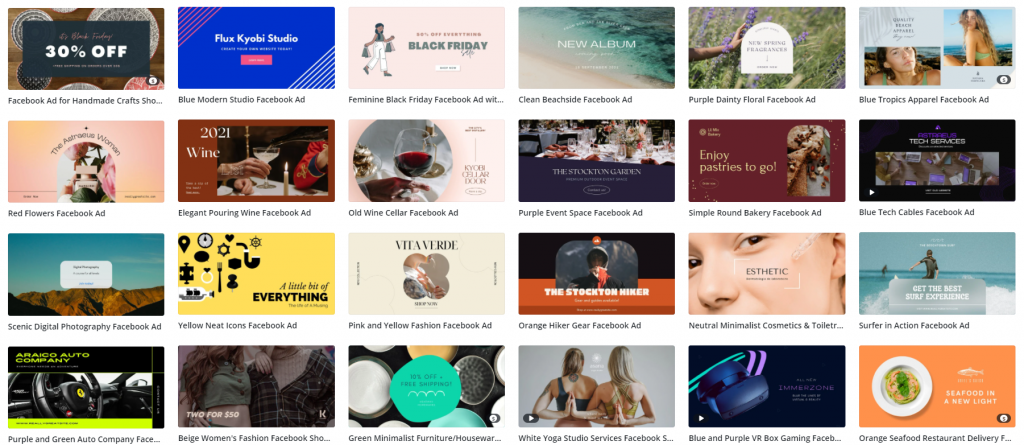
With the last few hours in your day, go back to your AI copywriting tool of choice and generate a few Facebook ads. If you’ve got a designer on hand, have them create a few custom images for your upcoming test ad campaign. If you don’t, just go to Canva.com and create a few social media ad units from there.

Again, Unsplash and Vecteezy are your friend—if you’re not a designer by trade, you can rarely go wrong with finding a template layout you like and changing absolutely as little as you possibly can.
Day 3 : Launch Your Worst Enemy
Launch your first Grow to Market experiment
As outlined in this post, you want to tackle basic positioning questions first. You’re looking to measure 2 metrics against your current performance:
- Cost Per Click – is it more or less than your own brand’s?
- Clickthrough rate – Is it at least 2%? Is it higher than your brand’s?
You also care, secondarily, about the actual signup rate of traffic on this page, but do keep in mind that it’s a secondary goal. If you’re testing radically different positioning than you currently have, measuring your made up brand’s conversion rate to signup versus your own isn’t quite comparing apples to apples.
Keep a sensible budget—a few hundred dollars—and see what you can learn from it.
Day 4+: Learn From Your Worst Enemy
This exercise gives you priceless knowledge. Can other positioning / audience targeting bring a viable customer your way? Can your product or service be repackaged in a more profitable manner? As you build up this made up company over a few more experiments, you can also learn whether you can charge more for your product than you have been. You’re free to make bold changes on pricing, business model, and any other area you can think of to see what changes can most improve your own business.
Finally, as you learn what works better than your current marketing you can fold that info back into your own product. You’ll know that the changes work, proven quantitatively, so it’s a much easier ask and a much easier win to implement in your own brand.


